

Every gardener should know how to build a wooden arbor. Besides adding dimension to your garden, these sturdy and functional garden structures offer the best platform to show off your fall climbing flowers and greenery.
RELATED: 15 Easy DIY Garden Trellis Projects
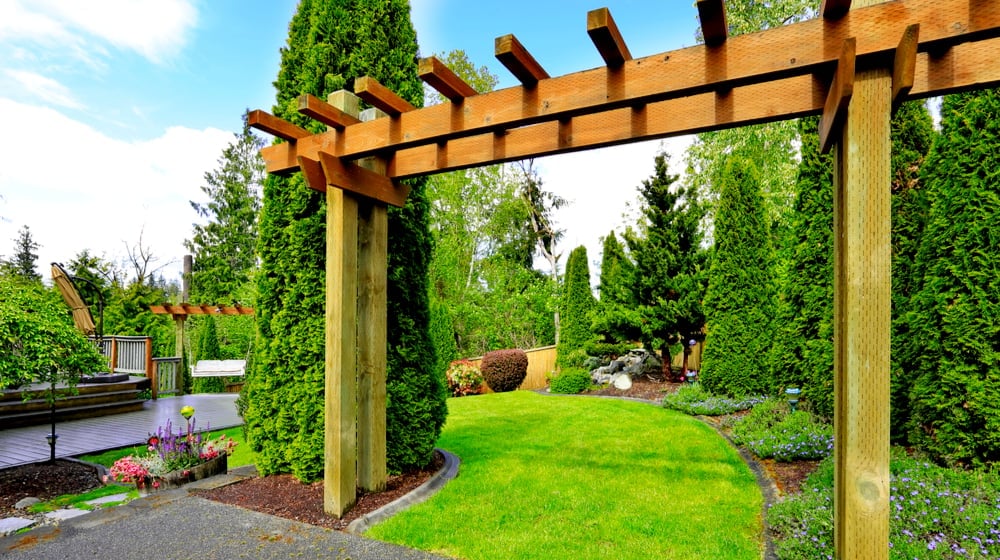
How to Build a Wooden Arbor to Transition Your Garden Into Fall
Materials You’ll Need
- 4 10ft long 90×35 mm (H3 treated pine framing timber for the posts)
- 2 6ft long 140×45 mm (H3 treated pine framing timber for the beams)
- 5 4ft long 70×35 mm (H3 treated pine framing timber for the rafters)
- 600×1800 mm lattice
- 18x18mm primed pine for the cleats
- 4 2ft star pickets
- Paint
- Sandpaper
- 4 pcs Star pickets
- Concrete
- Veranda brackets
Tools You’ll Need
- Protective gear (gloves and glasses)
- Planer
- Paintbrush
- Drop saw
- Drill
- Batten screws
- Nail gun
- Nails
- Hammer
- Square tool
- Jigsaw or circular saw
- Chisel
Step 1. Cut the Framing Timber for the Posts to Size and Paint

First, plane off the ribs on your framing timber. Though not mandatory, it provides a smooth surface for uniform painting and aesthetics.
Once all the surfaces are smooth and easy to work on, cut four (4) 90×35 framing timber into 8ft long posts to make the arbor’s four posts.
Cut to size two pairs of 2ft long top and bottom plates from the 90×35 framing timber you cut your posts from.
Lastly, cut the primed pine into two pairs of 2ft and 6ft long pieces, or according to the length and width of your lattice plates. Remember to paint the raw ends of primed pine to prevent future rotting.
Tip: Depending on how much time you have in your hands, paint as you go. Also, you can get creative and use any paint color of your choice.
Step 2. Assemble the Two Garden Arbor Frames
The best and easiest way to do this is to lay the four 8ft posts on the ground with the top and bottom plates in place.
While the top plates are easy to align at the top of the frames, the bottom plates need to be at an equal distance from the frames’ edge. The length of your lattice will guide you in the exact position to align your bottom plates.
For this arbor design, the bottom plate was aligned on the 6ft mark on the four posts.
When the top and bottom plates are in place, drive in the batten screws using a drill. Then, nail the primed pine bits in place inside the frames using a nail gun.
Once in place, fit the painted lattice inside the assembled frames onto the primed pine cleats. Lightly hammer to fit the lattice all the way through.
RELATED: 9 Stylish Metal Arbors To Give Your Garden An Edge
Step 3. Cut to Size Two Beams and Fix Them Onto the Frames
Prepare two 6ft long lengths of the 140×45 framing timber. These two 6ft long wood blocks will make the beams that will connect the two arbor frames at the front and rear sides.
With your assembled frames upright and parallel to each other, fix one of the 140×45 beams on top of the frames, leaving an allowance of 1ft on either side. Adjust this allowance based on how wide you want your arbor to be.
Once in position, fix the beam to the frames using batten screws. Overturn the arbor frames and repeat the same with the other beam.
Next, using a jigsaw, cut a decorative half-moon detail or any other decorative shape on both of the 1ft allowance sides of beams.
Lightly sand the cut ends to smooth them out for easier painting and soften out the edges of the beams using a plane to add beautiful contours.
Tip: If you do not have a jigsaw at hand, a raw angular cut on the ends will still serve as decoration. A square will help you mark-out equal cut angles. Use a circular saw to make the marked-out angle cuts.
Step 4. Cut Out the Rafters and Fix Them Between the Beams
Rafters add sturdiness to your arbor and also serve decorative purposes. Using a drop saw, cut the smaller profile 70×35 framing timber into several 4ft rafters. Five will do for this design, but consider the width of your arbor.
Use the circular saw to make angular cuts on each side of the rafters to match the beams’ decorations.
Next, mark the right positions for the notches that will secure the rafters onto the beams. Set the drop-saw to your preferred notch depth and make random dents. For this wooden arbor design, the drop saw was set at 20mm.
Finish off the notches by hammering out the random cuts using a hammer and a chisel.
Lastly, fix your rafters onto the beams. The notches will sit on the beams and hold the rafters in place.
Tip: Remember to sand the angular cuts on the rafters as well.
Step 5. Install Your Assembled Wooden Arbor
View this post on Instagram
Here, a little help will come in handy in order to move the finished arbor to the installation site.
To prevent the wood from rotting, install the star pickets on each post to keep the wood slightly above the ground. This project used 2ft star pickets where 1ft of it went into the ground.
Once correctly grounded, dig a shallow hole and fill it with concrete to hold the star pickets and the entire arbor in place.
Add the decorative verandah brackets to add some dimension to the corners and paint them.
Watch this another tutorial from Remodelaholic on how to make a DIY Garden Arbor:
There you have it, green thumbs. With this detailed guide, you can now make your garden a focal point with a beautiful DIY wooden arbor.
Have fun building your own wooden arbor!
What vines or flowers would you grow on a wood arbor? Let us know by leaving a comment below!
Up Next:
- How To Build Grape Arbors Using This Practical Design And Growing Guide
- 19 Stunning Climbing Plants Perfect For Trellis And Arbors
- Fall Gardening With 13 Stunning Perennial Flowering Bulbs
Calling all green thumbs, Garden Season needs YOU!
Click here if you want to write for us!
Want to stay up to date? Follow Garden Season on Facebook, Twitter, Instagram, and Pinterest.
