

Learn how to grow roses from seeds and create a masterpiece out of rose bushes. Growing roses from your collected rose seeds will save you money from buying seeds and rose seedlings.
A successful blooming rose garden stems from knowing the basics of growing roses from seeds. Read on and keep in mind these steps so growing roses from seeds will be a cinch!
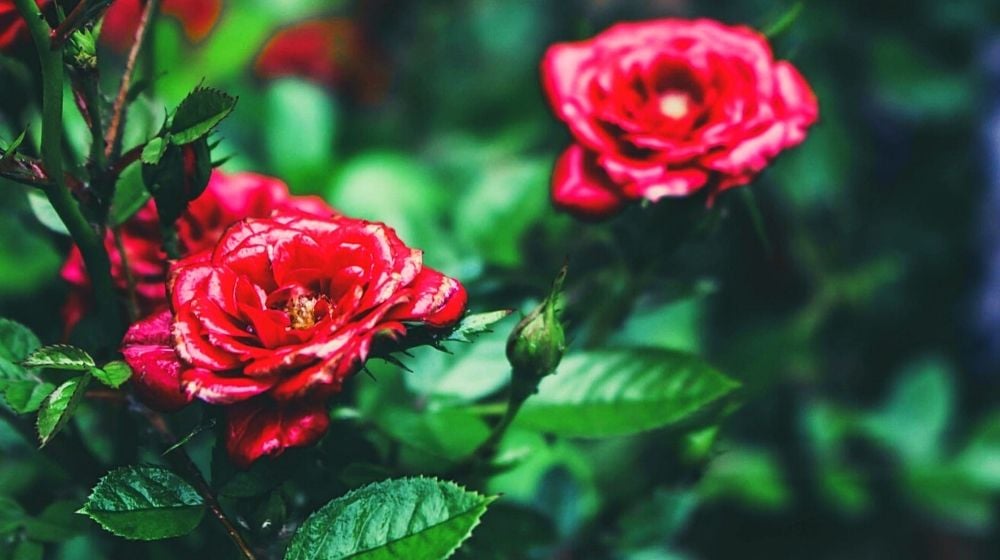
RELATED: Rose Gardens 101: How To Grow Roses You’ll Be Proud Of
How to Grow Roses From Seeds | A Step-By-Step Guide
What You’ll Need:
- rose seeds
- hydrogen peroxide
- knife
- garden utensils
- mesh or strainer
- water (for germination)
- paper towels
- seedling trays
- soil mixture
Step 1: Collect the Rose Seeds
[instagram url=https://www.instagram.com/p/B67z6bYIBPL/ hidecaption=true width=800]
Behind a rose flower is the bulge — an ovary best known as the rose hips. Within the rose hips lies the rose seeds
Once the rose hips ripen and the blooms have fallen, the first thing you need to do is to remove them from the plant, then carefully cut them open.
After cutting the bulge, you’ll see that it’s full-packed with seeds. Get the seeds using the tip of a knife or any garden utensils.
Step 2: Clean the Rose Seeds
[instagram url=https://www.instagram.com/p/BnwqJlVlVNv/ hidecaption=true width=800]
Right after collecting the seeds from the rose hips, the next step is cleaning the seeds to remove excess pulp. One easy way to clean the seeds is by placing them in a mesh or strainer and putting them directly under running water.
This step is crucial because left-over pulps may prevent the seeds from successfully germinating.
Step 3: Germinate the Seeds
[instagram url=https://www.instagram.com/p/BnzScuTl4o5/ hidecaption=true width=800]
To germinate the rose seeds, you can opt to soak the seeds in a diluted hydrogen peroxide mixture. This step is optional, but doing so will prevent the growth of molds on the seeds.
Add 1.5 teaspoons of 3% hydrogen peroxide to 1 cup of water, then stir well. Soak the rose seeds in this solution for one hour.
But just in case hydrogen peroxide isn’t readily available in your household, you can also use an anti-fungal powder for plants. Dust the powder lightly onto the seeds.
Rose seeds love the cold temperature to sprout. Therefore, you must place them in between lightly moistened paper towels, or in a container of slightly wet salt-free sand, vermiculite, or peat moss.
The next thing to do is to put the paper towel with the rose seeds in a seedling tray or reusable plastic bag and position it anywhere in the fridge. Keep the seeds inside for several weeks.
This process is called stratification! However, if you are going to use store-bought seeds with the label saying they are already stratified, then you can skip this step and proceed to the planting stage.
RELATED: How To Make DIY Rainbow Roses
Step 4: Remove the Seeds Out of the Fridge
[instagram url=https://www.instagram.com/p/BW2GsnxA6J6/ hidecaption=true width=800]
Depending on the rose variety, the seeds could take 4 to 16 weeks to germinate. Oftentimes, 70% of them will never sprout at all., But don’t fret because the 30% still gives you hope!
Before removing the seeds out of the fridge, you have to make sure the temperature outside is around 70° Fahrenheit. Set the seeds aside and ready them for planting.
Step 5: Plant the Rose Seeds
Plant the rose seeds as soon as they begin to sprout. Sow the sprouted seeds at approximately ¼ inch deep and 2 inches apart in seedling trays to give each seed enough space to grow.
Use a soil mixture that is very moist, but not too wet and soggy. Usually, it takes 1 week for the sprouted seeds to grow and become seedlings.
Step 6: Transplant the Seedlings
[instagram url=https://www.instagram.com/p/BQzjMy3DtXA/ hidecaption=true width=800]
The best time to transplant your rose seedlings is after the last frost has gone. Once you notice the roots are already thick and close-packed in the container and the normal rose leaves are starting to develop, then it may be a good sign to transplant the seedlings.
It is also ideal for rose seedlings to be transplanted to a bigger pot or planter for 1 or 2 years before transplanting them outside with the other plants.
Observe your seedlings, and when you notice they are looking good and healthy, you can start watering them normally.
During the warmer season, you may want to add fertilizer, as this may help the rose plant grow bigger and give you more blooms.
Watch this video by Gardening & More on how to collect and save rose seeds from rose hips:
Rose plants are actually very easy to grow from seeds through natural pollinators. But, of course, it is more rewarding if you plant and grow them on your own. I hope you find this step-by-step guide on how to grow roses from seeds easy and helpful.
Indeed, roses are one of the most graceful flowering plants one must have in their garden. Their classic and luxurious blooms add a touch of elegance to your home! And knowing how to grow roses from seeds makes it a lot more special.
Have you tried growing rose plants from seeds? Let us know in the comments section below.
Up Next:
- 15 Summer Flowers To Plant Now For A Blooming Garden
- Your Ultimate Guide On Growing Cosmos Flower For A Colorful Garden
- How To Build A Wick System For Your Hydroponic Garden
Calling all green thumbs, Garden Season needs YOU! Click here if you want to write for us!
Want to stay up to date? Follow Garden Season on Facebook, Twitter, Instagram, and Pinterest.
