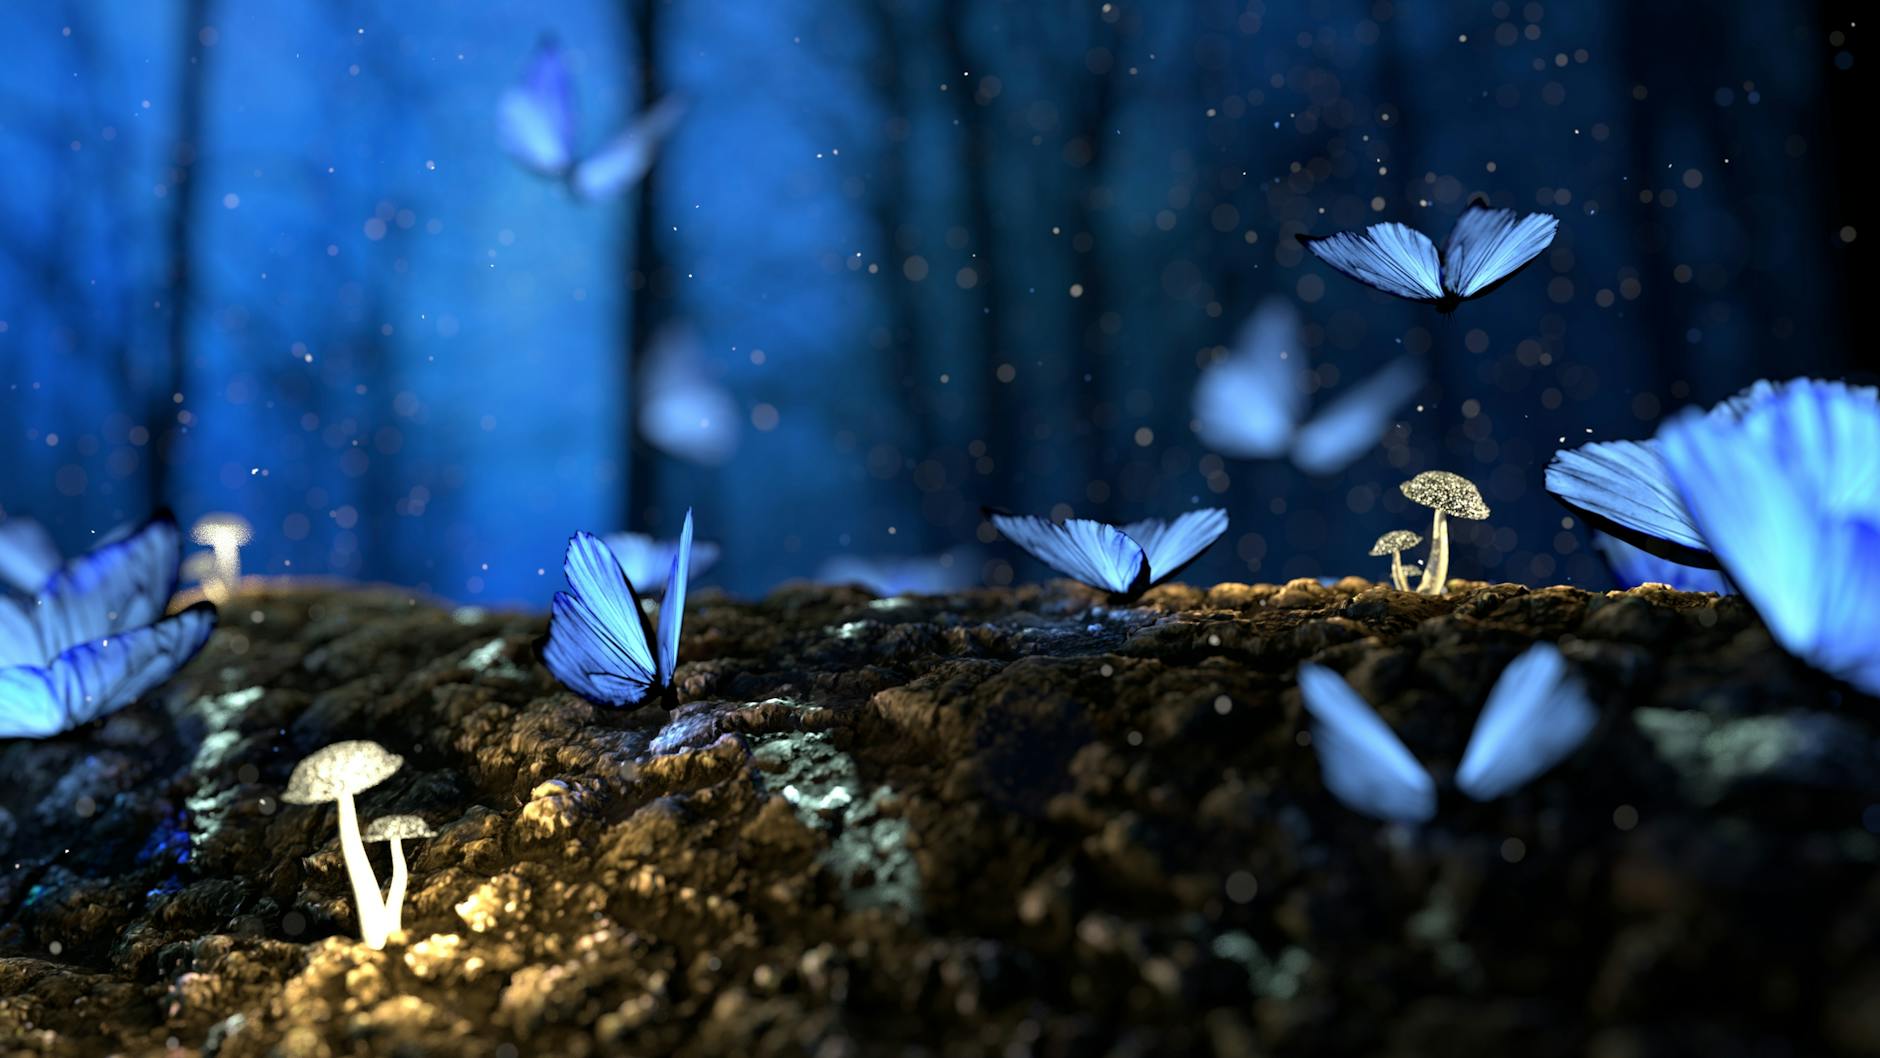
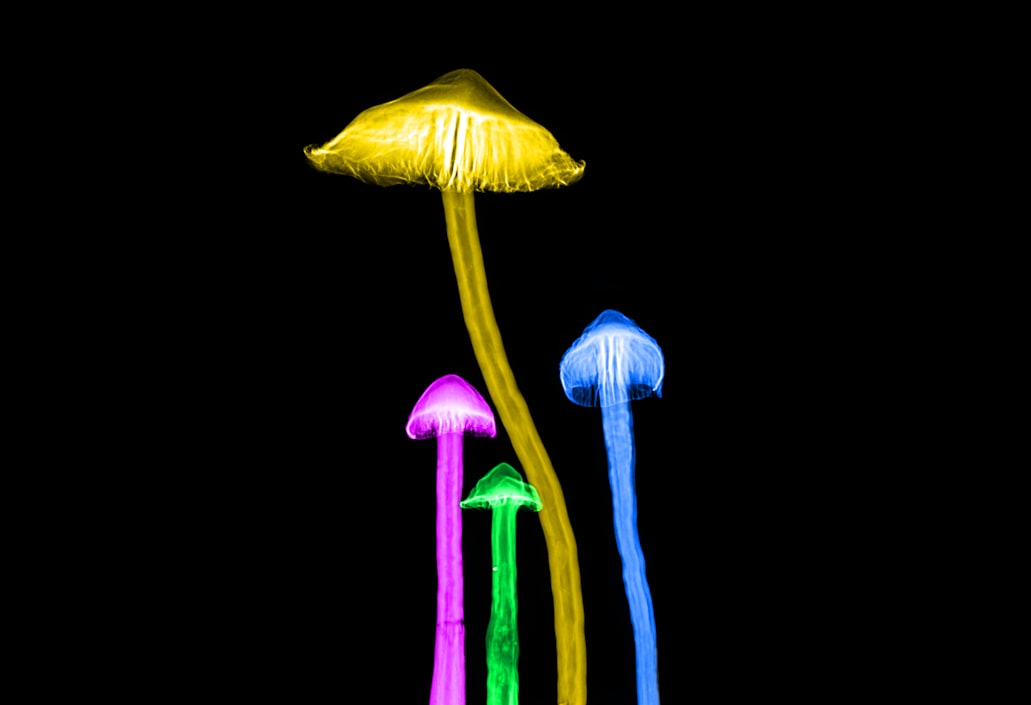
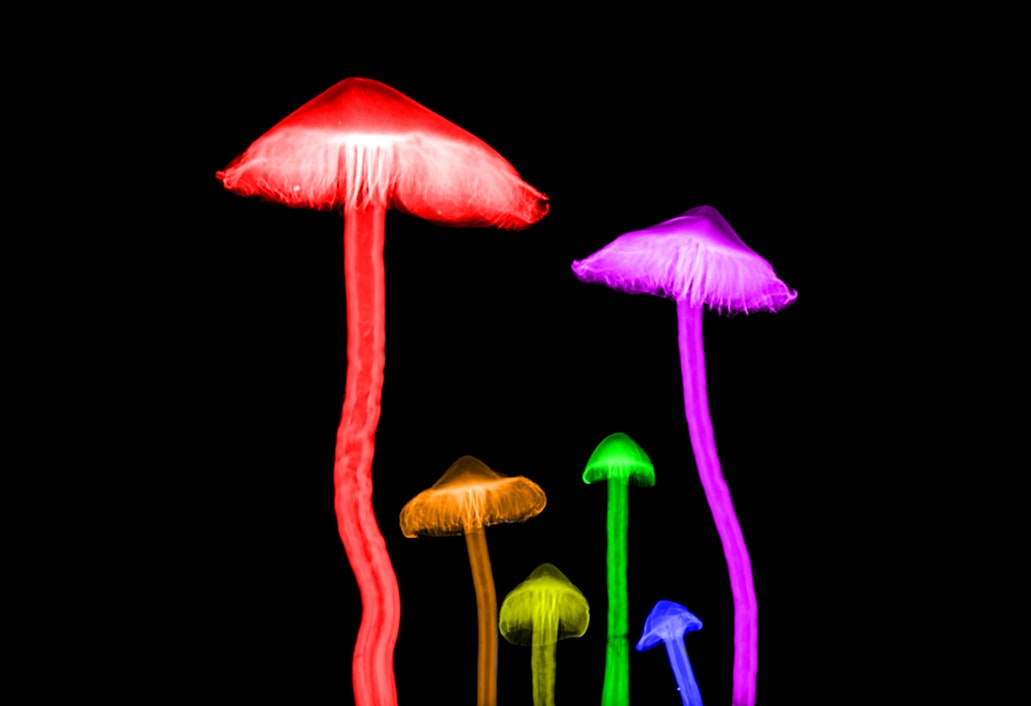
Garden design to me is incomplete without some DIY garden lighting. It’s almost like the icing on the cake or the cherry on top. And it sure is with this DIY magical glowing mushrooms which I’ve come across online. It’s simply lovely and I’ve been making my third DIY glowing mushroom batch now. This DIY Garden Project is a bit tricky but the challenges are well worth your effort. Plus, I’ve laid out all the instruction here to make it more simple for you. I’m sure you’ll love this DIY garden lighting project for your garden in this fall and winter season.
DIY Garden Lighting | How To Make Amazing Glowing Mushrooms
I’ve always been fond of garden lightings not only for their added beauty. A lighted garden makes me feel secured and is definitely lovely in the nighttime. Sure, some Christmas lights and outdoor lights are great for the garden but I’ve found this amazing DIY glowing mushrooms. I just couldn’t help sharing it with you so you can jazz up your garden big time too.
With the longer nighttime in the fall and winter season, lighting up the garden is a must. Our garden is also stripped bare this season so some DIY garden decor could add some drama. And this DIY garden lighting will do the trick. Transform your garden into a winter wonderland with this glowing mushrooms DIY garden lighting.
DIY Garden Lighting Glowing Mushroom Design Ideas

What’s exciting about this project is how the mushrooms look organic which is just perfect in your garden. Doing research online of mushrooms in their natural habitat can give you inspiration too. Check these images on how you want your magical mushrooms to look so you have a pretty good idea as you work through this project. Thinking of growing some real mushrooms? Then find out all about growing mushrooms here.
DIY Garden Lighting Tools To Use
- Plastic Food Wrap
- Scissors
- Wire Cutters
- Small Pliers
- Soldering Iron
- Solder Drill
Mushroom DIY Garden Lighting Parts List
- SMD LEDs
- Resistors (value calculated in the video)
- Clear silicone
- Watercolor paints
- Thin wire and stiff wire
- Wood (driftwood, bark, etc)
- Battery box for 3x AA batteries, with built-in switch
Flat SMD LEDs Versus Normal LEDs
We will be using some flat SMD LEDs as they have a much wider beam angle than normal LEDs and are usually much brighter. This will allow the mushroom domes to be lit up more evenly. Although you can achieve a similar effect with normal LEDs by simply chopping off the tips.
Flat SMD LED Strip
Flat SMD LEDs can be bought individually but are much less common. You can take a flat SMD LED strip instead and remove the SMD LED from it.
When choosing your LED, it would be a good idea to match the color with the color you choose for your mushrooms. This will help the mushroom look more vibrant and the light color enhanced.
Cutting Out The Flat SMD LEDs
The flat SMD LEDs are also easier to solder. Now, simply cut around the SMD LEDs to remove them and then trim down the ends. Now they’re ready to be soldered up.
Finding Out The Value Of Resistor Needed
Our mushroom lightings will be powered by a battery pack with 3 double A batteries. So we will need to solder a resistor in series with each LED so they won’t get fried with too much voltage.
To work out the value of the resistor needed, take this value calculation guide:
- Take the LEDs required voltage and subtract it from the battery pack’s voltage.
- Divide the answer by the LED’s required current.
- Then move the decimal point three places to the right. This will give you the ideal resistor ohm rating.
Using this simple calculation, you can reconfigure this project to work with the variety of different voltage source such as 5 volts from a phone charger. Use the chart above to find out the LEDs required voltage and current and to get the approximate value.
Setting Up The Mushroom Lighting Stem Electronics
Now you have your resistors, we can now work on the lighting electronics and the frame for the mushroom body. Depending on the design you’re going to work on, a variety of length for your frames would be ideal.
Step 1.
First, bend half an inch on one end of the resistor as illustrated here. Form a right angle of the bend.
Step 2.
Then bend over again a part of the bent portion as shown here.
Step 3.
Now, you can solder either end of the flat SMD LEDs to this notch.
Step 4.
The little antenna sticking up of the resistor will act as a support for your mushroom dome later.
Step 5.
Now get a length of thin wire, no less than 20 cm long and solder one end of it to the other end of the LED.
Step 6.
Gently bend the resistor’s leg inwards towards the center of the LED.
Step 7.
Wound the extra wire around the resistor’s leg so things are kept neat.
Step 8.
Since the resistors are what will give the mushroom stems their strength, you can lengthen them by soldering some stiff wire to the end of the resistor’s leg.
Step 9.
Lastly, solder in another length of thin wire to the extension and the electronics to the mushroom stems are complete.
Making The Mushroom Stems
Now with the tricky electronic part done, we can start working on the fun part of creating the mushroom body. We’ll start with the stems of the mushroom.
Materials
You will need some watercolor paints with colors of your choosing, a plastic food wrap, and some clear silicon. Find yourself a good mixing surface. A disposable plastic carton leg would be great.
Step 1.
Squeeze into the plastic mixing surface just the right amount needed for your first mushroom stem.
Step 2.
Then squeeze in a small amount of the color your chose for your mushrooms.
Step 3.
Mix the silicon and paint nicely to incorporate the color to the silicon.
Step 4.
Transfer your first batch of the silicon and paint mix into a cling film.
Step 5.
Now place your LED stem on top of the mixture with the SDM LED near to the mixture as possible.
Step 6.
Then fold over the cling film to mold the mixture into your mushroom stem. Use your thumb to mold the stem and wrap the mixture over the resistor.
Step 7.
Leave the molded stem for three hours to dry then peel it off from the plastic wrap. What you’ll have is the mushroom stem you can bend into different positions.
Attaching Mushroom Stems In Medium
|
Next is to prepare the base of the medium where the mushroom can totally look organic. A sturdy tree bark, a driftwood, or any wood material you can drill holes through.
Step 1.
Pick a drill bit similar in width to your mushroom stem. This will give your mushroom stems a perfect fit through your wood piece or medium.
Step 2.
Drill holes through your wood piece or medium in areas you want your mushrooms placed.
Step 3.
The position of the holes is fairly important since we want to mimic how the real mushrooms grow.
Step 4.
Next, push the stem wires through the holes. Before inserting the end of the mushroom stem, fill in the hole with a blob of clear silicone.
Step 5.
Lastly, push the end of your mushroom stem through the holes with the silicone blob to put your stem in place. Set your mushroom stem up and leave to dry.
Making The Mushroom Domes
Now, we can start on our mushroom domes. The process is just the same as when making the mushroom stem. You will need practically the same materials but you will need some tiny round or globular objects. You will have to form the dome shapes of the mushroom around them.
Step 1.
Place a small amount of the paint and silicone mix into a cling film.
Step 2.
Fold the cling film over with the mixture in the middle rather than the edge. Press the mixture to spread it out evenly.
Step 3.
To get a well-defined edge pinch the edge of the flattened mixture from the outside inwards.
Step 4.
Although, you can mold the mixture into a dome shape with just your fingers, a molder can do the trick. It can either be a small round ball or anything particularly round.
Step 5.
A small mushroom dome can even be molded over the end of a pen. I’m sure your household has lots of gizmos and gadgets from which you can mold mushroom domes of different sizes.
Step 6.
Hold the mushroom domes up to a light to get a preview of how your mushrooms are going to look once lighted up. Don’t worry about variations and blotches as this will even give the mushroom a more organic look.
Step 7.
Once your mushroom domes are dried, clean up the edges by snipping off the excess silicone films.
Mounting The Mushroom Caps
We’re almost done! With your mushroom domes set, you can now mount them up the stem of your mushrooms. Mounting the mushroom dome too close to the SMD LED results in a bright spot in the center of the dome. Providing sufficient space between the dome and the light will allow for the light to be distributed evenly. Follow the steps closely for the proper installment of the mushroom dome.
Step 1.
Prepare first your mushroom stem by cutting out a small piece of round tissue paper slightly wider than the domes. Poke a hole in the center, then push it down on one of the stems.
Step 2.
Take out some more stiff wire and form a circular frame from it fitting inside your mushroom domes nicely.
Step 3.
Now this is where the antenna on your mushroom stem comes in handy. All you need to do is solder the circular frame on to the antenna to support your mushroom dome.
Step 4.
Then pull up the cut tissue paper onto the circular frame and wrap it nicely around the support but keep the SMD LED exposed.
Step. 5
Then glue the paper in place with some silicone and add some more silicone on top.
Step 6.
Squash your mushroom dome on top and gently tuck the tissue paper underneath to keep some stray paper from sticking out.
Step 7.
The tissue paper will not only help to hide the wires from view but will also help spread the light. It also looks great from underneath mimicking a real mushroom.
Setting Up The Mushrooms DIY Garden Lighting
We’re almost done! Now comes the super fun part of lighting up your magical mushroom. All you’ve got to do is wire up the stem to the battery pack.
Step 1.
As the LEDs need the correct polarity to light up, test each set of wires to see whether they’re lighting up.
Step 2.
After you got all the wires tested then’s the time to solder them up.
Step 3.
Use some electrical tape or heat shrink to keep things neat.
Step 4.
Check your base if it can stand on its own. But you can always stick it to something like a flat rock to keep it upright.
Step 5.
You can also glue the battery pack instead to help support your medium or base especially if you don’t want wires sticking all over the place. Now wasn’t this project super fun!
More Mushrooms DIY Garden Lighting Design Ideas
If you want the feel of autumn in your garden then go for the warm and cozy red mushrooms. Want your garden transformed into a winter wonderland in the night? Then the mysterious and eerie white ones are just perfect. Your style can vary also in the bracket fungi design.
Watch the full details making your own mushroom DIY garden lighting in this video from DIY Perks:
To a green thumb, the garden is more than just a place to make things grow. It’s more like of a sanctuary where the troubles of the world are either forgotten or buried. So it’s only fitting and proper for a garden to be decorated and adorned. Whether overly, it’s up to our liking. But this DIY garden lighting project in the glowing mushrooms is just perfect. My garden in the nighttime totally transformed, it’s practically a home extension. Go make yours too and do this DIY magical mushrooms.
Do you find the glowing mushroom DIY garden lighting lovely? I do! If you have some questions or more ideas feel free to post them in the comments section below.
With the winter season in the air, take your gardening indoors and do this easy DIY hanging planters for your plants!


2 thoughts on “DIY Garden Lighting | Make Amazing Glowing Mushrooms”
Pingback: DIY Garden Decor | 15 Fun And Easy Projects To Do In A Day – PinkDIY.com
Pingback: Adorable handmade one of a kind mushroom LED lamps - FancyDiyArt