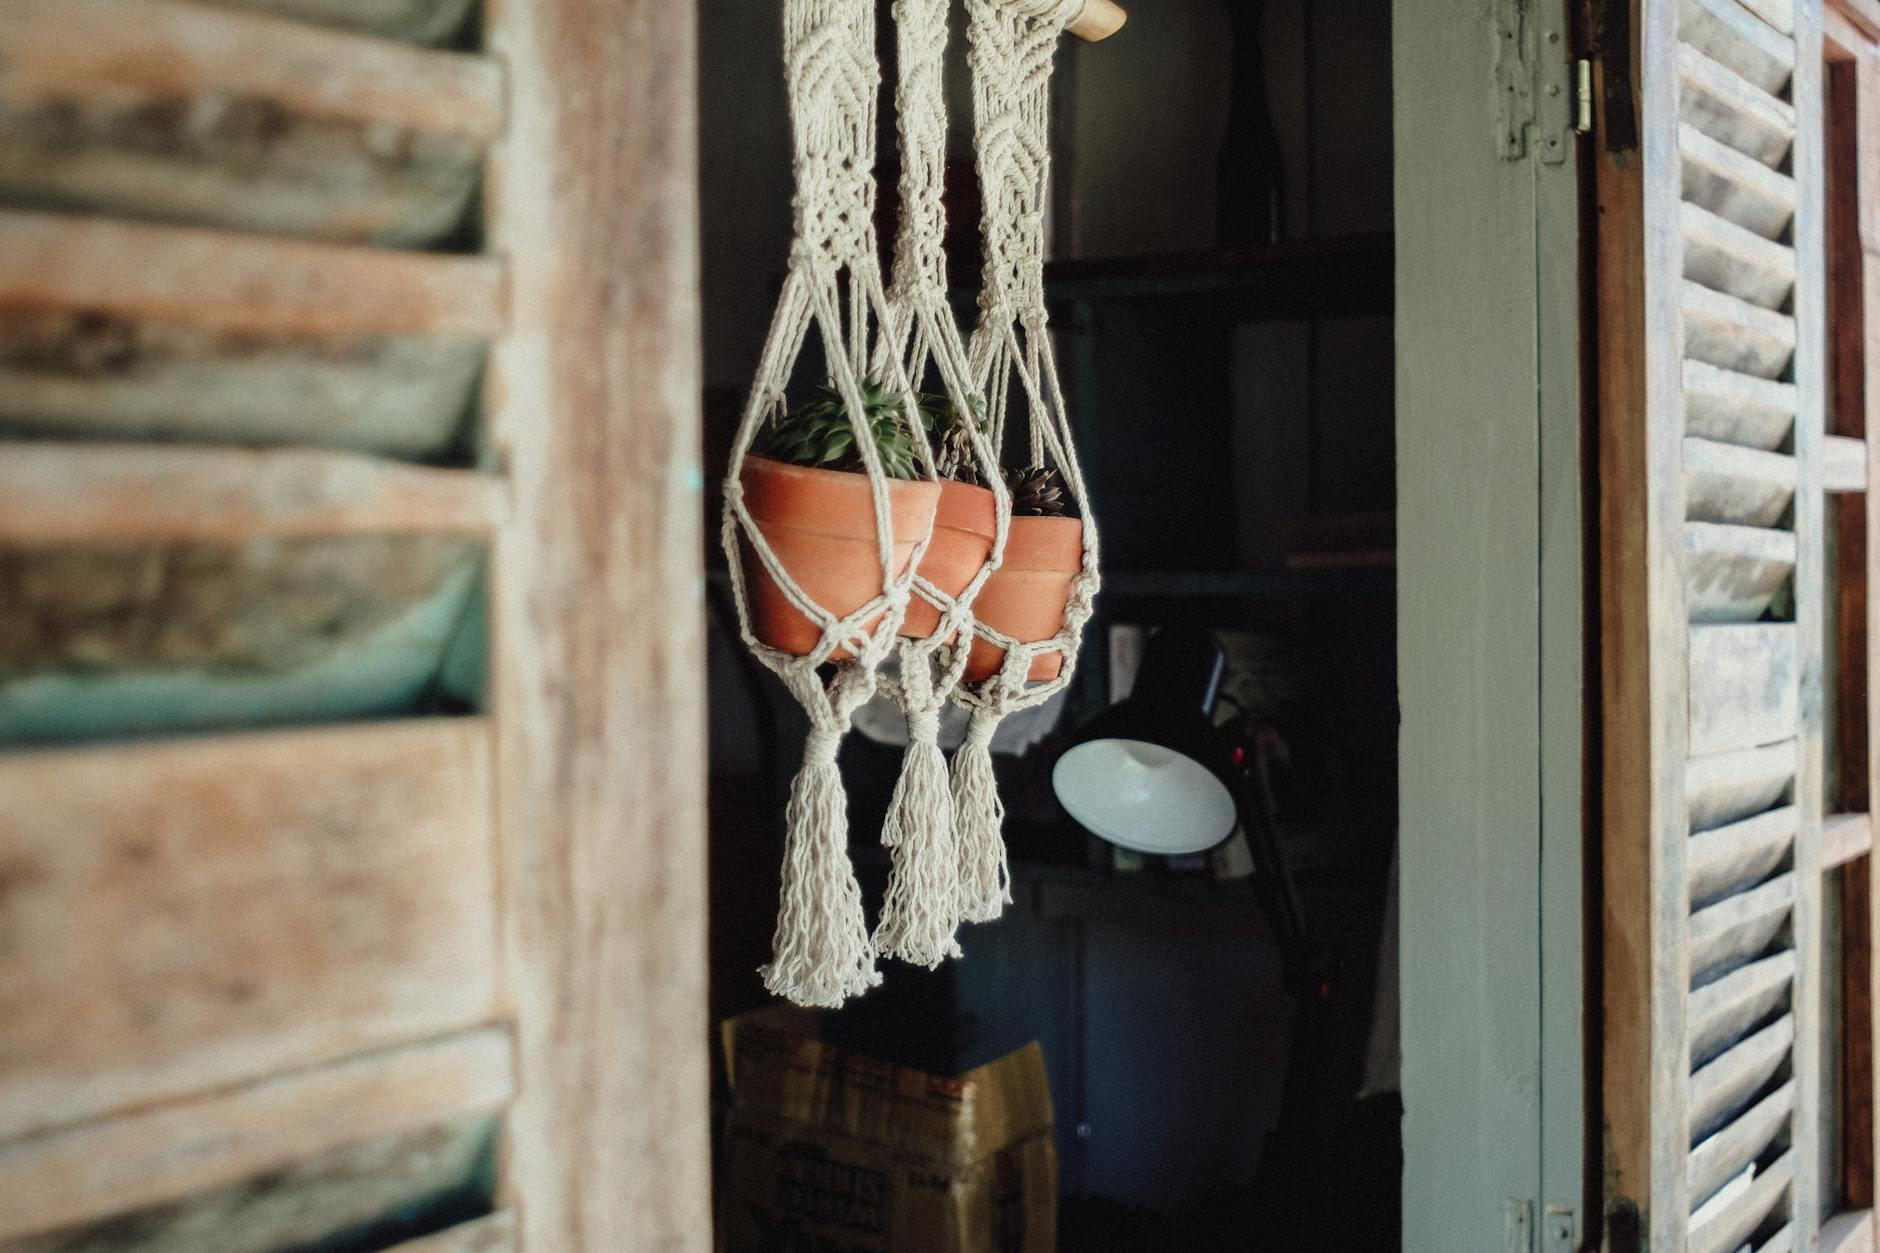
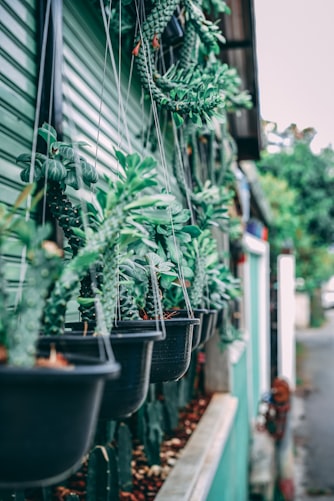
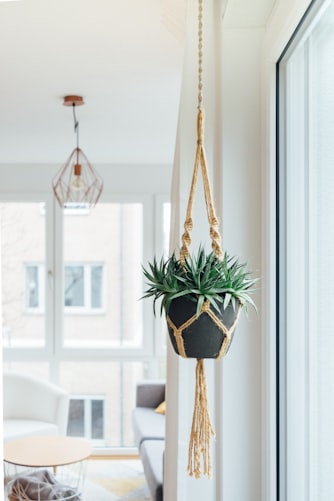
Make no more excuses for growing a few plants indoors even in the shortage of space in your apartment or cozy abode. Create this easy DIY hanging planters and jazz up that bare ceiling that will create an illusion of a home or room larger than it really is!
Plants are the cheapest and the prettiest decorations your home can get. And to top it all they purify the air inside your home depending on the kind of plants that you grow. NASA says these plants here do. Now, this may sound impractical for those who think they don't have the space to spare in their cozy room or home. Why that bare ceiling has enough space for a hanging plant or two that will definitely make your room more interesting.
Easy DIY Hanging Planters to Enliven Your Home
Think no more and make a room or create a space for a pretty, little orchid with this indoor gardening idea. Here's the easiest DIY hanging planters guide there is that will practically answer your question on how you can make room for plants indoors.
Make this DIY hanging planter with just three materials including your favorite potted plant and your very own hands as your only tool. Now, no DIY planter project could be as simple and cheap as this DIY hanging planter here!
Materials For DIY Hanging Planters:
- Your favorite potted indoor plants like succulents or orchids
- 32 inches or 9.6 meters of colored string
- key hoop or ring
Step 1: Through The Loop
To start with, take the string and cut it into four separate pieces, each 240 cm or 8 feet long. Then, making sure the tops are aligned, let them through the hoop of the key ring.
You have now two sets of string doubled over right down in the middle by the key ring. And make sure the ends of the strings are also set to align.
Step 2: Tying Knots

Now, tie the set of strings into a knot just an inch from the key ring. Then lay them on a surface to separate into pairs.
With your string laid and paired, measure 15 cm or 5 inches from the first knot then tie. Do the same with the rest of the pair of strings.
Step 3: Crisscross Knots
Then from the first knot made from the pair of strings, measure again another 5 inches but this time pair two strings from a different set. And then tie.
Make the same measurement and do the same knot with another pair of strings from a different set again.
Step 4: Almost Done
Finally, tie the end of the strings into a knot that will finish off your hanging planter.
You can now carefully place your potted plant inside the formed net, adjusting the strings to support the potted plant.
Step 5: Instant Indoor Garden Hanging Planters
Ta-dah! DIY hanging planters in a beat. Those dull and boring spots in your home will surely get jazzed up!
Watch the complete tutorial here in this video from Handimania:
A garden may seem only possible in the great outdoors which an apartment in the city cannot afford. Indoor gardening makes it possible for you to grow a few plants inside your home. In fact, it is a great idea with the benefits plants can give both in decoration and practical function. So, are you ready to give hanging planters a try?
Did you enjoy the hanging planters tutorial? Why not share this article with your friends to help them jazz up their home too? You can also share your thoughts in the comments section below!
Want some more easy DIY projects? Check out these 15 DIY Garden Decor!


