

I know you’ve been wanting to have your own upside-down planter at home. Well, you can have one now! I’m about to give you a comprehensive guide to making your own upside-down planter.
RELATED: Vertical Garden Ideas | How to Grow Vegetables In A Vertical Garden
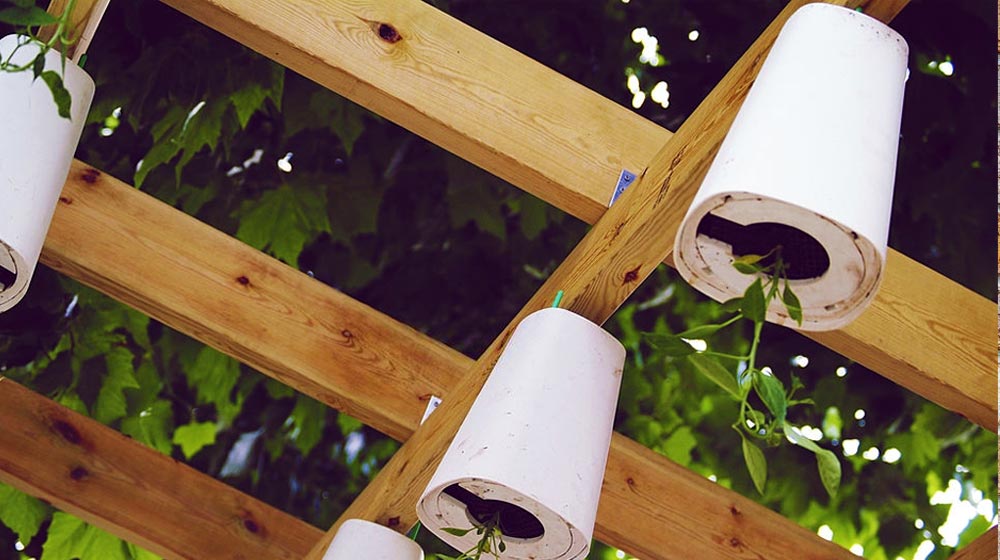
Easy Upside-Down Planter You Can Make at Home
Why Have an Upside-Down Planter?
Aside from saving space, upside-down gardening has a lot of other benefits such as:
- helps avoid ground pests
- deters the growth of fungi on plants
- reduces the use of stakes and supports
- roots absorb more water and nutrients from the soil
- top space for other plants
Why Not Have an Upside-Down Planter?
Though it is great most of the time, this type of gardening is not for everyone because of these reasons:
- limited crops to plant (lightweight varieties only)
- needs more frequent watering
- may not have access to enough sunlight
- natural tendency of a plant to grow upward causes the stems to be fragile
Materials:
[instagram url=https://www.instagram.com/p/vlUROFIl89/ hidecaption=true width=800]
To get started, you’ll be needing:
- bucket or plastic pot
- drill and 1-2 inch drill bits
- window screen, burlap, or fabric
- rope
- potting soil
- the plant (i.e. tomato, cucumber, pepper, eggplant, beans, herbs, and other crawler plants)
- paint for design
Step 1: Cut Hole in the Bucket
Since your plant is going to grow upside down, carefully drill a 1-2 inch hole in the bottom of your container. Make sure the hole is not too big nor too small for your plant to grow.
You may poke small holes in the bottom using a nail for extra drainage.
Step 2: Screen Cover the Hole
Using the bottom of the bucket as a guide, trace a circle on the screen or burlap and cut. Fold the screen in half and cut 2 perpendicular lines in the center to form a 2-inch cross.
Lay it flat on the inside of your container. The screen will help the water drain out while keeping the soil and plant intact.
Step 3: Thread the Rope
If your bucket doesn’t have a built-in handle, drill holes on opposite sides of the container. Place them at least 3-4 inches from the top edge. Insert the rope from the outside and tie a knot inside. Do it on both sides. To make it more steady, you may want to add extra holes and a rope.
Hang the planter where you can easily work on putting the plant and soil.
Step 4: Transfer Your Plant
Add some layers of soil inside the container to hold your plant in place.
Remove most of the soil from your transplant, leaving only the roots. Carefully stick the plant in the hole and through the screen cuts. Gently press down the soil against the roots from the inside to secure the plant.
Now fill the container up to the brim with potting soil. Water generously.
Some gardeners prefer to grow the plant right-side-up at first until the plant reaches a good height. This allows the plant to get more sunlight and to grow upright.
RELATED: Gardening Ideas: How to Make An Easy Planter Box Greenhouse
Step 5: Paint and Decorate
[instagram url=https://www.instagram.com/p/Btzk-7GgcoC/ hidecaption=true width=800]
Once you are done with the planting, it’s time for some creative efforts. Decorate your planter as you prefer. Painting the container is the easiest, but you can also choose to cover it with plastic wrapper and some ribbons.
Step 6: Hang Your Upside-Down Planter
Now that it’s complete, hang your plant in an area with full sunshine. The best thing about hanging planter is you that you can relocate to a more suitable location when necessary.
Care Tips
- For plant varieties, choose the ones with smaller and lighter fruit.
- Keep the soil consistently damp but not wet.
- If you’re hanging the plant outside, put the lid on partially to avoid getting too much rain but still allow air circulation.
- Plant some beneficial herbs on top for additional crops to harvest.
Watch the video below from workbenchsutff on how to make an upside-down planter using plastic bottles:
Whether it’s the usual upside-down tomato planter or any other crop, the concept is exciting and something you must try. It saves a lot of space and it starts conversations for your visitors. You must consider, however, the limitations of upside-down gardening.
What plants do you want to try for an upside-down planter? Let us know in the comments section below.
Up Next:
- How To Make Easy DIY Hanging Planters For Your Indoor Garden
- Growing Tomatoes In Pots Indoors | 9 Tips
- 13 Ways On How To Save On Water Bill | Smart Gardening Tips
Calling all green thumbs, Garden Season needs YOU! Click here if you want to contribute for us!
Want to stay up to date? Follow Garden Season on Facebook, Twitter, Instagram, and Pinterest.
