

Indoor hydroponic garden, like any gardening endeavor, is both fun and convenient. If you are looking to level up your indoor gardening experience, this detailed guide will help you build a functional hydroponic system in one of two ways.
RELATED: Hydroponic Gardening FAQs: What Is It And How Does It Work?
How to Build An Affordable Indoor Hydroponic Garden | Two Ways
How to Build A Jar Indoor Hydroponic Garden
 Materials You’ll Need
- 5 one-gallon jars with lids
- Nutrient solution
- 5 two-inch net cups
- Seeds
- 1 1/2 inches Rockwool cubes
- Hydroton
Tools
- Seedling tray
- Plastic spoon
- Mark pen
- Drill with two and quarter-inch bits
- Black spray paint
- Adhesive tape
- Quarter-inch funnel
[amazon box=”B075JT2X3T , B073WJFHQH , B07KJVQ6T5 , B01KYYZ9DE” grid=”4″ price=”none” button=”none”]
Instructions
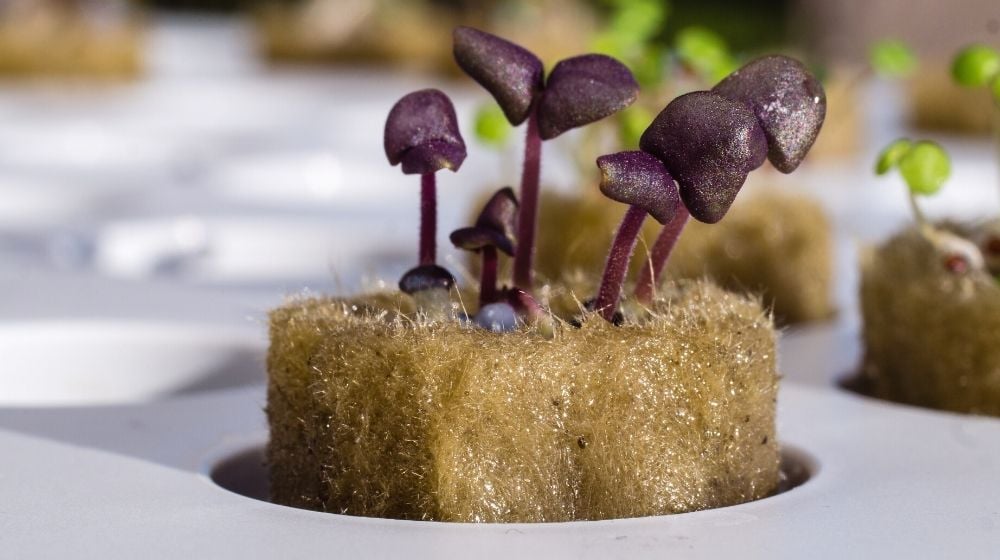
- Pour water on five Rockwool cubes until soggy. Drive a plastic spoon into the small holes on the Rockwool to open them up.
- Using a spoon dipped in water, pick the seeds and place them into the cube holes. Every cube should hold only one seed. However, you might need to plant in several cubes since some of the seeds do not germinate or will rot.
- Next, hold the two-inch net cups upside down on the jar caps and trace the outline.
- Use the two-inch drill bit to make holes at the center of each of the five lids. The best way to do this is when the tops are on the jars.
- Using the quarter-inch drill bit, make a small hole at the furthest end of each lid. This will help you refill the indoor garden with the nutrient solution.
- Choose a small spot on the jars and cover it with tape. This will leave the area clear after painting the jars. This way, you will be able to monitor the level of your nutrient solution.
- Paint the jars and give them enough time to dry. Once dry, remove the adhesive tape to reveal the clear spot.
- Open the jars and add the nutrient solution. Fill about three quarters, close the jars, and place the net cups into the lids’ holes.
- Fill the remaining parts of the jars until just below the net cups. You want only the nutrient solution to touch the base of the net cup.
- Once set, place the seedlings into the net cups. Push the seedlings down a little, so they make contact with the nutrient solution.
- Lastly, place hydroton pebbles around the seedlings to keep light away.
Tip:
A gallon of nutrient solution is enough to take the plant through its entire growth cycle. But you can still refill your hydroponic system, as required, using a funnel.
RELATED: 13 Best Crops To Plant In Your Vertical Vegetable Garden
How to Build a Simple Container Indoor Hydroponic Garden
 Materials You’ll Need
- 10-gallon tote container (reservoir)
- Fountain pump with a quarter-inch nozzle
- 6 inches quarter-inch tubing
- Shallow container tray
- Styrofoam sheet
- 6 pcs. two-inch net cups
- Seedlings
- Rockwool cubes
- Hydroton
- Nutrient solution
Tools
- Drill with an eight-inch drill bit
- Jigsaw
- Penknife
[amazon box=”B07KBJ46LK , B000JCKCQQ , B073WJFHQH , B07KJVQ6T5″ grid=”4″ price=”none” button=”none”]
Instructions
- Using the drill, make 2 quarter-inch holes on the two bottom ends of the shallow container tray. These will make the inlet and outlet for the nutrient solution.
- Next, attach the quarter-inch tubing to the nozzle of the fountain pump. Place the pump inside the tote container.
- Fix the other end of the tubing onto one of the shallow plant tray’s holes. This will be the inlet pipe of the nutrient solution.
- Next, using a jigsaw, make a shallow nudge at the top part of the reservoir to make way for the electric cord.
- Put the shallow plant tray on top of the reservoir. It should fit halfway but not go all the way in.
- Next, use a penknife to cut out 6 two-inch holes on the styrofoam. This will hold the net cups in the shallow plant tray.
- Fill the reservoir with water, submerging the fountain pump completely. Test the pump to ensure there is a good flow of water into the shallow plant tray.
- Once the system is in place, transfer your seedlings into the net cups with Rockwool cubes. Hold them in place using hydroton.
- Place the net cups into the styrofoam holes. The styrofoam goes into the shallow plant tray.
- Add the nutrient solution into the reservoir and plug in your indoor garden.
Pro Tips
- Change the nutrient solution every week to maintain electrical conductivity and pH level.
- Research on the right nutrient solution range for the plants you will be growing in the indoor garden.
Watch this video from FiveStars on five best indoor hydroponic gardening systems for your home:
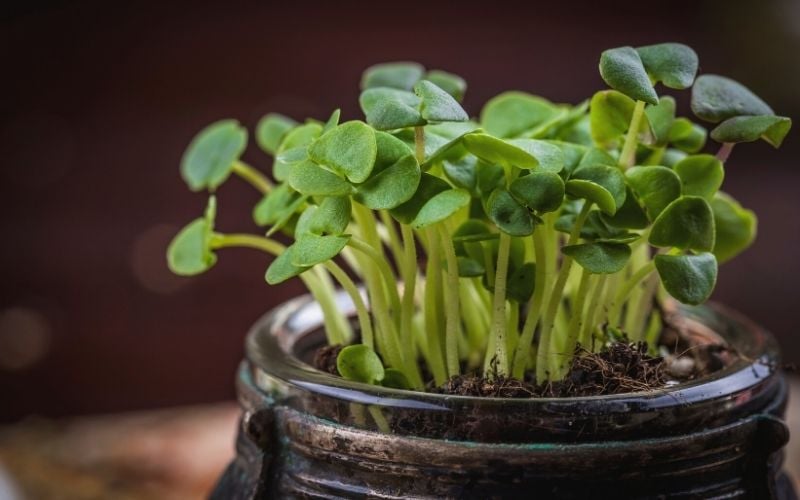
There you go, green thumbs! Building an indoor hydroponic garden is easy, but growing fruits and vegetables indoors is even easier and fun.
Start with simple leafy greens and then progress to other plants as your knowledge of hydroponic gardening grows!
What plants do you plan on growing in your indoor hydroponic garden? Let us know by leaving us a comment below!
Up Next:
- How To Build Your Own Hydroponic Tower Garden
- How To Build A Wick System For Your Hydroponic Garden
- 17 Hanging Succulents To Add Greenery To Your Home
Calling all green thumbs, Garden Season needs YOU!
Click here if you want to write for us!
Want to stay up to date? Follow Garden Season on Facebook, Twitter, Instagram, and Pinterest.
