Ever have an old teacup that you don’t use anymore? Instead of throwing it away, try upcycling it with this easy DIY tutorial. Turn that unwanted teacup into a planter for your growing flora. Let me show you how!
DIY Teacup Planters
What you need:
- Teacups and saucers
- Scrap wood
- Small rocks
- Small plant
- Drill with 1/4″ ceramic bit with a tungsten tip
- Safety goggles
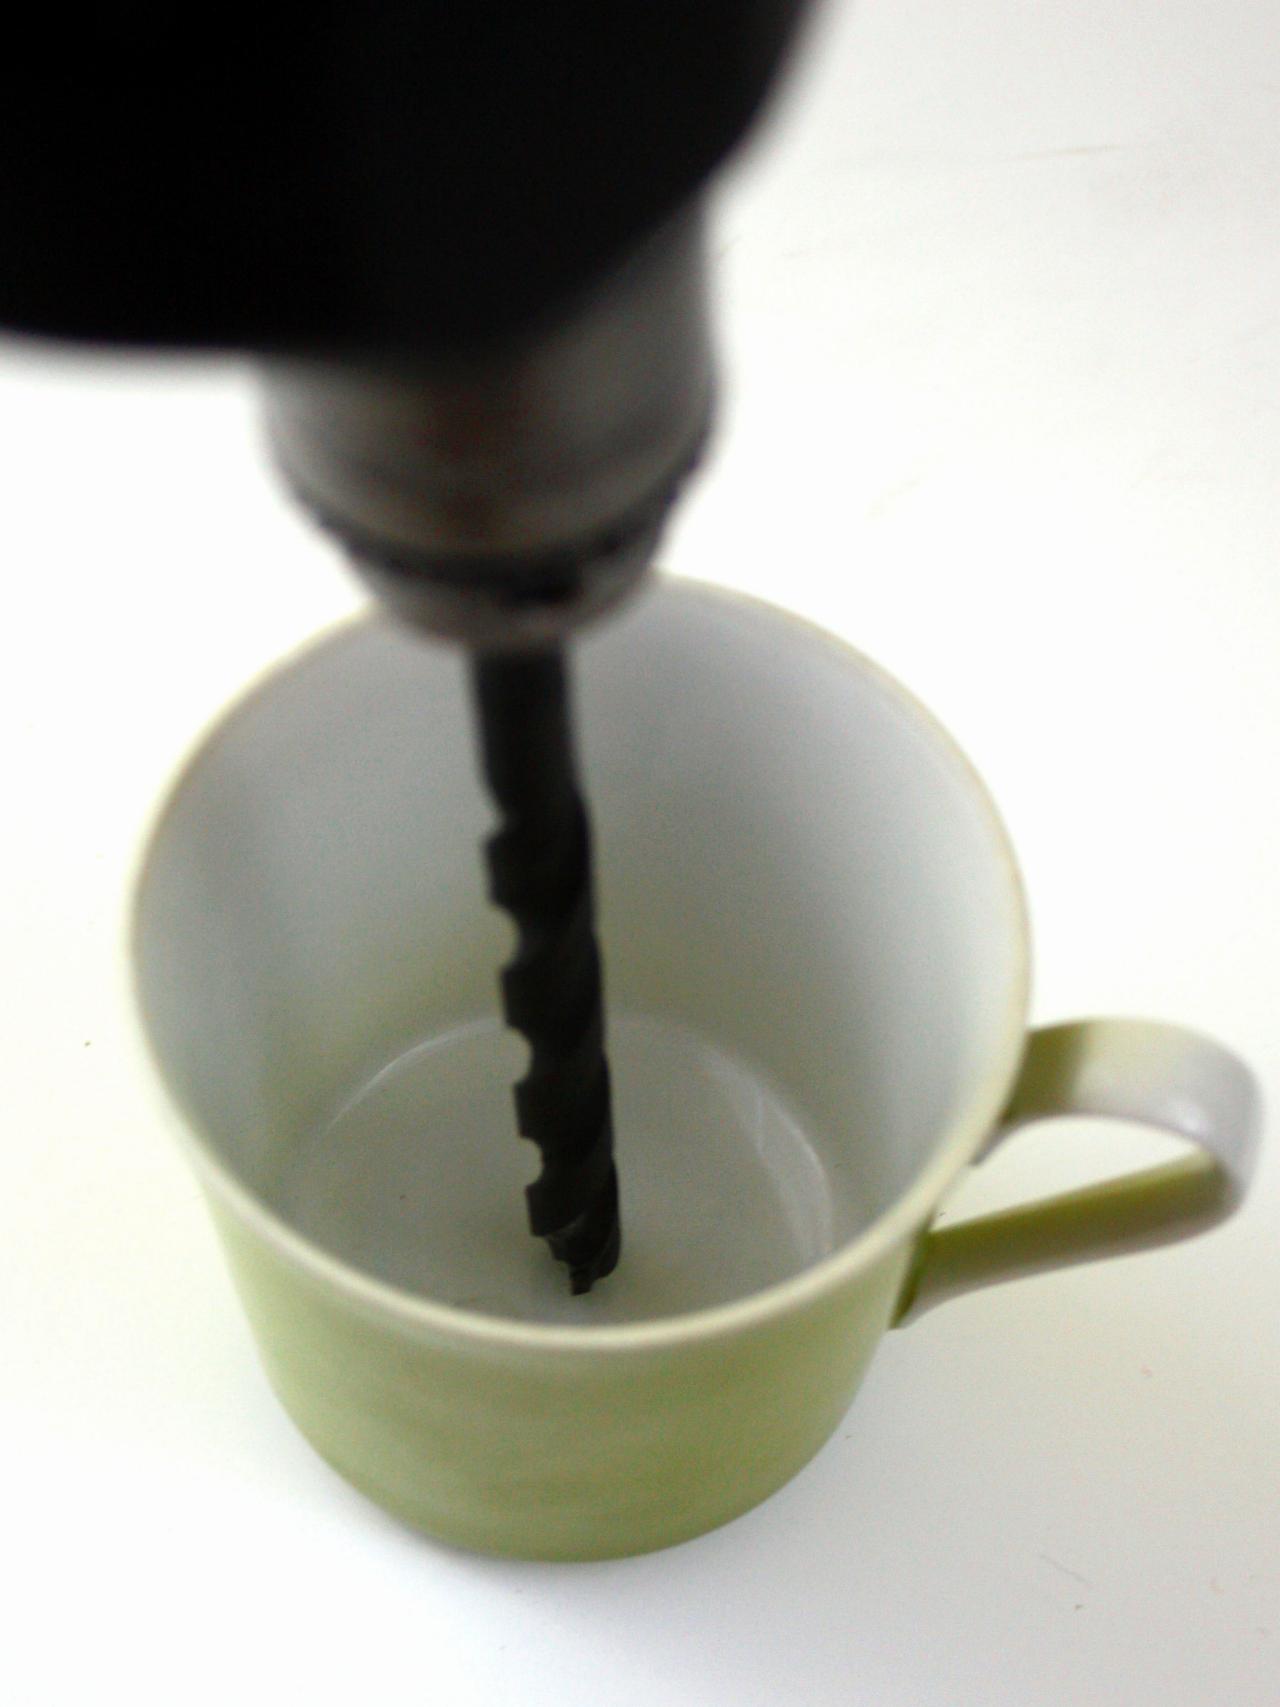
1. Drill a Hole for Drainage
Place the cup on a piece of wood, making sure it is stable. Then, by using a slow drill speed, make a hole in the bottom. Use very light amounts of pressure, as ceramics are prone to shatter easily. Wear goggles for safety.

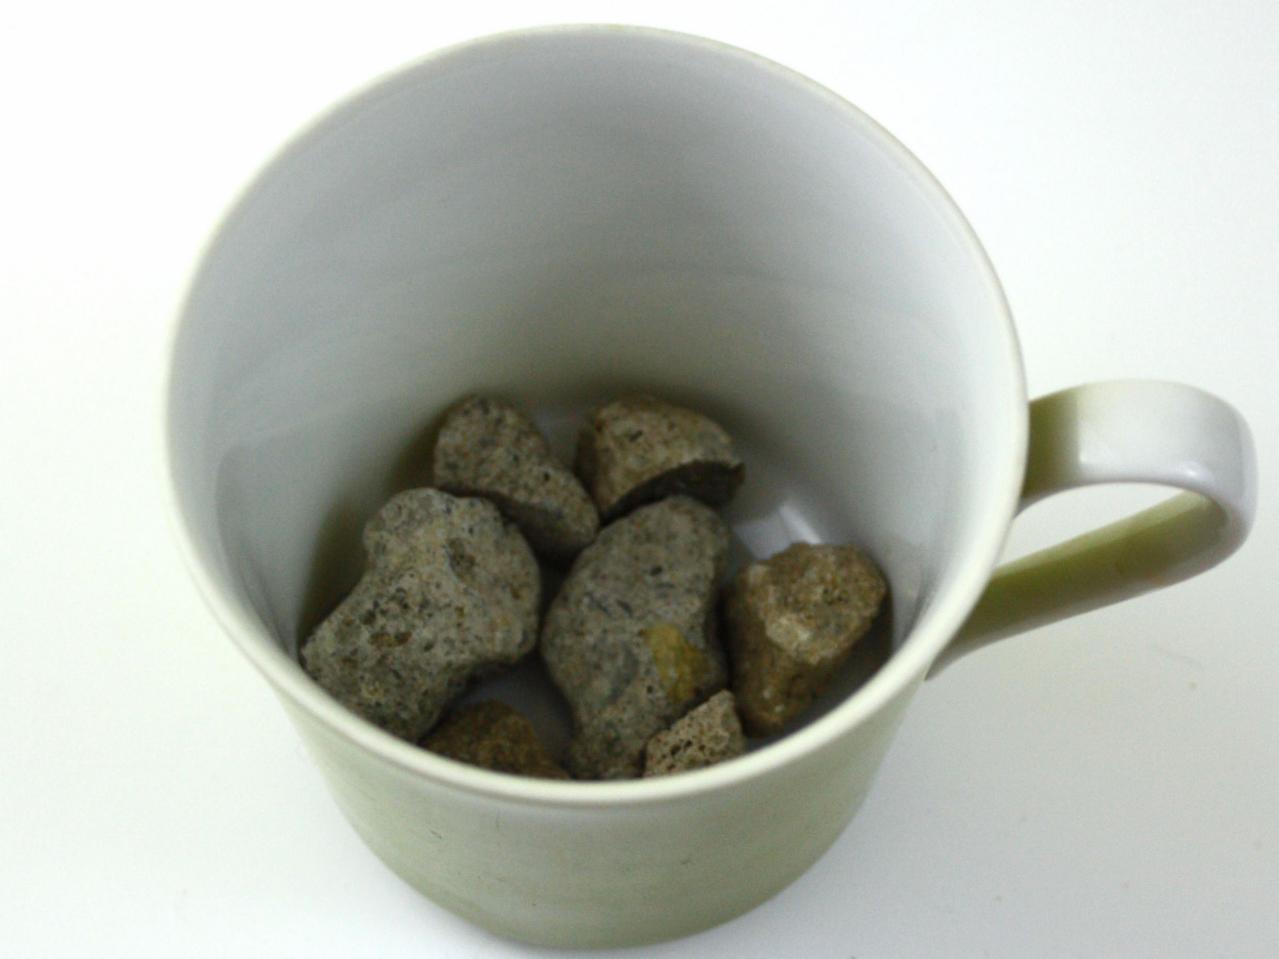
2. Add Rocks
Place small rocks at the bottom. This will help keep the garden soil intact.

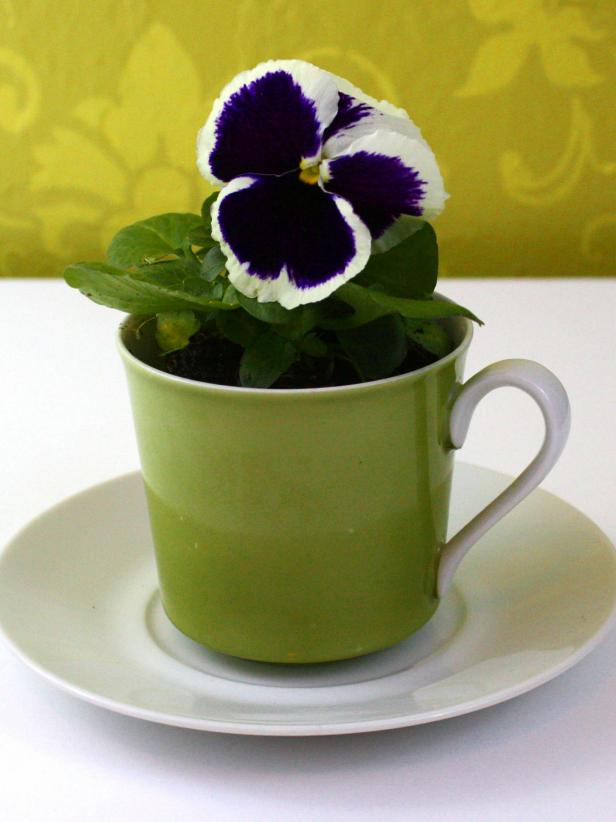
3. Plant away
Add soil, then plant your favorite flowers and watch them grow. You can use any plants you like. Herbs are also a good idea. Once satisfied, you can place it anywhere in your house or outside, but make sure that you are allowing the plant to get enough sunlight.

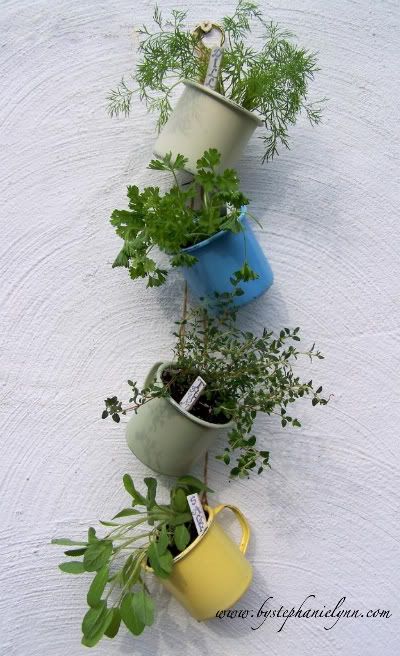
You can also make a variation of this teacup planter. Instead of putting it on a surface, why not hang it in the air? All you have to do is add another hole at the side (near the handle), then tie a string and attach each additional cup to one another.

All pictures courtesy of DIY Network.
This is such a fun way to repurpose your old items and make them useful again. You get to minimize waste, and help the environment at the same time!
Did you like this tutorial? Let us know what your thoughts are and leave a comment below.


