

If you want your garden to capture your neighbors’ attention next spring, fall bulb planting might be the answer. This simple preparation process can help your garden burst into vibrant blooms once winter gives way to spring. While it may seem like another chore, we guarantee the payoff will be more than worth it. In fact, your garden could potentially become the envy of the neighborhood!
Why Fall Is the Perfect Time to Plant Bulbs
Planting bulbs in the fall might seem like tedious work. However, autumn is when bulbs store energy for the spring. If you make the effort in planting these bulbs during fall, you’ll see the results when they blossom into stunning flowers by springtime.
In particular, the cooler temperatures of fall create the ideal conditions for bulb roots to strengthen, especially in the absence of summer heat. The autumn soil remains warm enough to encourage growth, while the cooler air helps reduce the likelihood of disease. Fall planting also gives bulbs time to develop underground, which ensure they become ready to thrive the next season. This head start is crucial in producing vibrant, healthy blooms that define a standout garden. Plus, fewer pests are active in the fall. As a result, your bulbs face lesser risk of disturbance during their early growth stages.
Choosing the Right Bulbs for Your Garden
Choosing the right bulbs that suit your climate and soil conditions ensures a successful and vibrant spring display. It’s important to select bulbs with varying bloom times to enjoy color throughout the spring. By mixing heights, textures, and colors, you can create a dynamic and visually appealing garden.
Below are some of the best bulbs to consider, each bringing unique beauty to your garden.
- Tulips: This spring classic is available in numerous colors and shapes.
- Daffodils: Bright yellow and white daffodils are beautiful and deer-resistant.
- Crocuses: Among the earliest bloomers, they add vibrant splashes of color.
- Hyacinths: These richly colored, fragrant flowers make excellent border plants.
Ensure bulbs are firm and free of blemishes. Also note that larger bulbs generally yield bigger and more robust blooms.
Preparing Your Soil for Success
Healthy soil is the foundation for successful fall bulb planting. Well-prepared soil allows for proper drainage, prevents bulb rot, and provides essential nutrients. To give your bulbs the best chance of developing strong roots, improve the soil structure before planting. Below are a few key steps to ensure your soil is ready for optimal growth. These soil preparation techniques will encourage healthy root development and improve the chances of seeing robust blooms in the spring.
Test the Soil
Start by testing the pH level of your soil to ensure it falls between 6 and 7, which is the optimal range for most bulbs. Use a simple soil testing kit that’s available at most garden centers. If the pH is too low (acidic), adding lime can help balance it.
Amend the Soil
If your soil consists of heavy clay, it can retain too much water, which can lead to bulb rot. Mix in organic matter like compost, peat moss, or well-rotted manure to improve drainage. This will also enhance the soil’s structure and introduce nutrients feeding your bulbs throughout their growing cycle. On the other hand, sandy soils may require additional organic material to help retain moisture and improve nutrient content.
Loosen the Soil
Digging to a depth of 12-14 inches is essential for loosening the soil and allowing bulb roots to grow freely. Use a garden fork or shovel to break up large clumps and create a fine, crumbly texture. This step is crucial because compacted soil can restrict root growth and lead to stunted or weak plants. Make sure the soil is well-aerated to encourage strong root systems and better water absorption.
Pro Tip: Well-draining soil helps prevent rot and gives your bulbs the best chance to flourish. Moreover, adding compost enriches the soil, providing vital nutrients for your bulbs.
Mastering Planting Techniques for Healthy Bulbs
Planting bulbs correctly ensures they grow strong and bloom beautifully in the spring. This includes planting them at the right depth, using proper spacing, and ensuring the correct position. These actions can help maximize their health and display potentials. Below are detailed planting techniques that give your bulbs the best start possible.
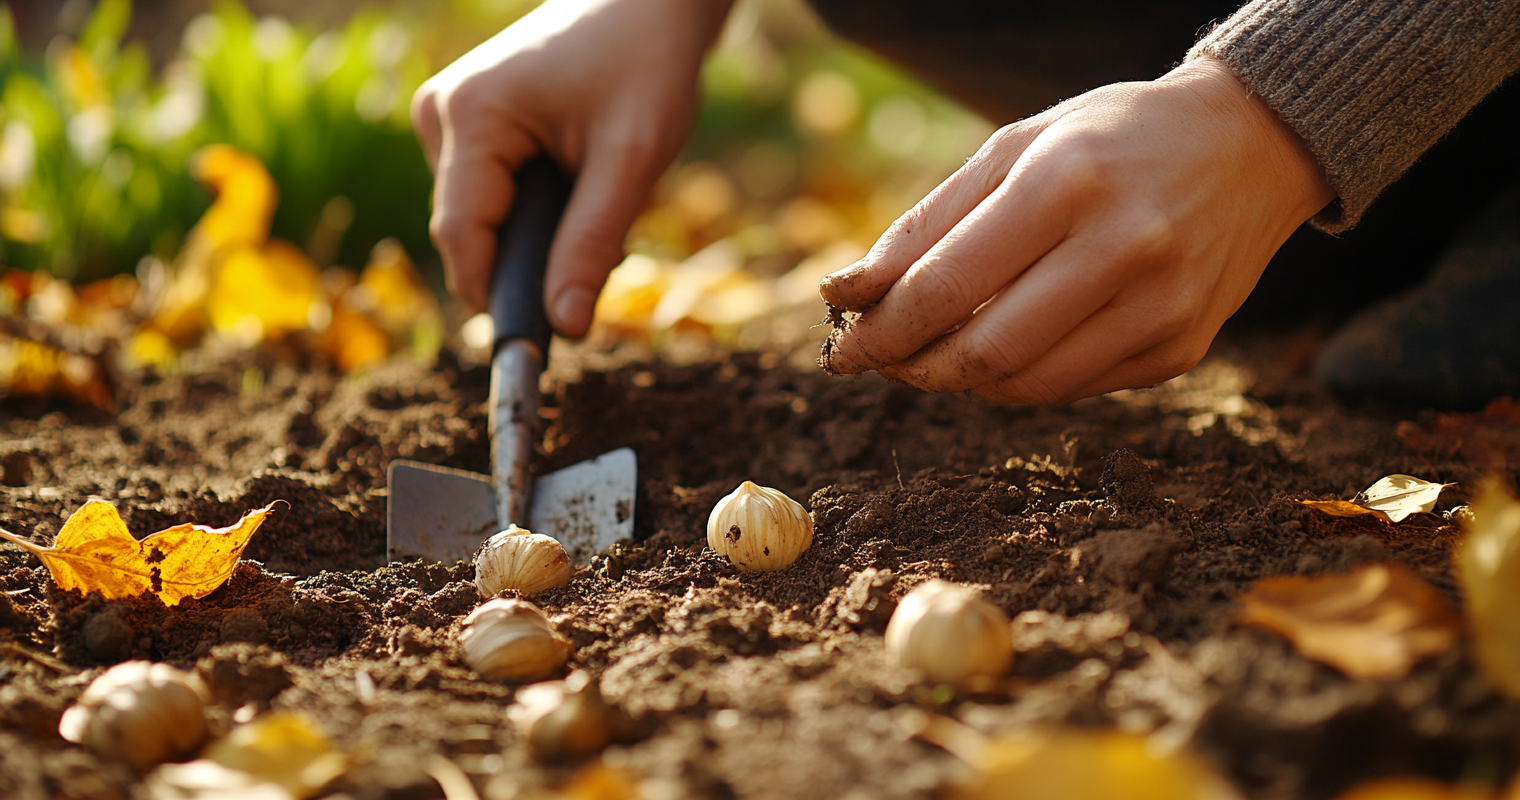
Depth
The depth at which you plant your bulbs plays a crucial role in their development. A general rule is to plant bulbs at a depth three times their height. For instance, a 2-inch bulb should be planted 6 inches deep, while smaller bulbs, like crocuses, can be planted shallower. Planting too deep can make it hard for the bulbs to break through the soil, which then delays or even prevents blooming. On the other hand, bulbs planted too shallowly may be left unprotected from winter’s freezing temperatures. Eventually, this will lead to damage or poor growth in spring. Use a garden trowel or bulb planter to achieve the right depth for each bulb type.
Spacing
Proper spacing allows bulbs to develop fully without having to compete with each other for nutrients, light, or water. You should space large bulbs such as tulips or daffodils about 4-6 inches apart to give them enough room to grow and spread out. Smaller bulbs, like crocuses or snowdrops, can be spaced closer together—about 2-3 inches apart. Crowded bulbs may produce smaller or fewer flowers because they lack the necessary space to thrive. Conversely, spacing your bulbs correctly ensures that each one has ample room to develop robust roots and produce large, healthy blooms.
Positioning
Bulbs need to be planted with the pointy side, or “nose,” facing upward, as this is where the shoot will emerge. If you’re unsure which end is the top, it’s better to plant the bulb on its side. Bulbs naturally orient themselves in the soil and will grow toward the surface no matter how they are planted. Correct positioning helps ensure the shoot emerges straight, strong, and ready to bloom when the time is right.
Watering and Mulching Your Bulbs
Proper watering and mulching are essential for bulb survival and growth after planting. They both help bulbs settle into the soil and provide crucial protection throughout the colder months. Ensuring consistent moisture and regulating temperature helps set your bulbs up for a successful spring bloom.
Water
After planting your bulbs, thoroughly soak them to help them settle into the soil. Watering is critical because it encourages the bulbs to form roots before the ground freezes. However, be careful not to overwater, as bulbs can rot in overly saturated soil. Water deeply but allow the soil to drain well. Continue watering periodically during dry spells in the fall to keep the soil moist, especially in areas where rain is less frequent. Bulbs don’t need much water during winter, but the initial soak after planting is crucial for root establishment.
Mulch
Applying a 2-3 inch layer of mulch consisting of shredded leaves, bark, or straw is important to insulate your bulbs during winter. Mulch acts as a protective barrier, regulates soil temperature, and prevents extreme fluctuations that could harm your bulbs. It also helps retain moisture, which reduces the need for frequent watering. Mulch also protects against frost heaving, which can push bulbs to the surface during freeze-thaw cycles.
In addition to insulating the bulbs, mulch suppresses weeds that would otherwise compete with them for nutrients and water. Make sure to apply the mulch evenly over the planting area, but avoid piling it directly on top of the bulbs to prevent rot.
Mulching also keep the soil from drying out during dry spells. Consequently, mulching gives your bulbs the best chance to thrive in colder months.
Protecting Bulbs from Pests
Bulbs are often targeted by squirrels, deer, and other critters looking for an easy meal. Without proper protection, your hard work in fall bulb planting could unravel quickly. Fortunately, there are simple and effective ways to keep pests at bay and ensure your bulbs stay safe through the winter
Wire Mesh
One of the most reliable methods for preventing squirrels and other animals from digging up your bulbs is laying a wire mesh layer over the planting area. Chicken wire or hardware cloth works well. Place the mesh just below the soil surface, which allows the bulbs to grow through while preventing animals from reaching them. Secure the edges of the mesh with garden staples or rocks to keep it in place.
Repellents
Natural repellents like garlic, hot pepper, or commercially available sprays can deter pests from disturbing your bulbs. Another effective strategy is to plant pest-repellent bulbs like alliums or fritillaries, which have a strong scent that naturally deters rodents, ruminants, and other mammals. These bulbs aren’t just protective, they’re also attractive and can liven up your garden. This makes them a practical and decorative solution.
Explore more about natural pest control methods from the Farmer’s Almanac
Planting for Continuous Blooms
To enjoy a garden full of color throughout the spring, consider planting bulbs with varying bloom times. This technique, known as succession planting, ensures that different flowers emerge at different stages, providing a continuous and evolving display of beauty. By carefully planning your bulb selections, you can create a garden that blooms consistently, from the earliest days of spring until late.
Succession Planting Strategy
Succession planting involves selecting bulbs that flower at different times during the spring months. Start with early bloomers like crocuses, which often break through the soil during the fading days of winter. These vibrant flowers will add the first splashes of color to your garden. After the crocuses, plant mid-season bulbs like tulips and daffodils, which will continue to bring bold colors and forms as the spring progresses. Finally, incorporate late bloomers, such as alliums or late tulip varieties, to ensure your garden remains lively and colorful through the end of the season.
By staggering bloom times, you’ll create a garden that evolves naturally, with new flowers replacing those that fade. This succession of flowering bulbs allows you to enjoy a fresh and dynamic display for months. Planning your fall bulb planting with this strategy is a simple yet effective way to keep your garden vibrant from early spring to late spring.
Post-Bloom Care: Preparing for the Next Season
Once your bulbs finish blooming, it’s essential to care for them properly to ensure they return stronger and healthier the following year. Post-bloom care helps bulbs conserve energy and sets the stage for even more vibrant blooms next season. Taking the time to follow these steps will guarantee your efforts in fall bulb planting continue to reward you for years to come.
Deadhead Spent Flowers
Once the flowers have faded, deadheading becomes an important task. Removing the spent flowers prevents the bulbs from diverting energy into seed production, which then weakens their growth for the following year. Instead, deadheading redirects the energy into the bulb, allowing it to grow larger and store more nutrients for next season’s bloom. Be sure to remove the flower heads, but leave the stem and leaves intact for the next step.
Keep Foliage Intact
While it might be tempting to cut back yellowing foliage, leave it in place until it has fully died back naturally. The leaves play a vital role in photosynthesis and helps the bulbs store energy for the next growing season. As the leaves yellow and die, they transfer that energy to the bulb and ensure it has the strength to produce strong roots and beautiful flowers the following spring. Only cut the foliage after it has completely withered and turned brown. This process can take a few weeks, but it’s key to the long-term success of your fall bulb planting.
Experiment with Unique Bulb Varieties
Mixing different bulb varieties not only adds excitement to your garden but also brings an element of surprise and creativity. You can create a garden that stands out from the rest by experimenting with a combination of classic heirloom varieties and more exotic species. Heirloom bulbs, often cherished for their timeless beauty, gives your garden a nostalgic, vintage charm. Meanwhile, exotic species introduce unexpected colors, forms, and textures that will have neighbors stopping to admire your unique display
Pro Tip: Combining bulbs of different heights and colors creates a dynamic, visually interesting garden landscape.
With careful planning, your fall bulb planting can be both exciting and unique, giving your garden a special charm.
Make the Most of Fall Bulb Planting for a Stunning Spring
Fall bulb planting is the key to a colorful, thriving garden during spring. Following these steps’ll ensure a garden that stands out once winter ends. Each fall task from choosing the right bulbs to preparing the soil brings you closer to months of glorious blooms.
Learn more about garden care in the fall from The Spruce
