

Building a high tunnel greenhouse should be a top gardening priority for every gardener before the cold season catches up on us. Don't fret, because we have here a DIY guide on how to build a high tunnel greenhouse, and it's so easy–you can complete it in a day or two!
Build A DIY High Tunnel Greenhouse On A Budget
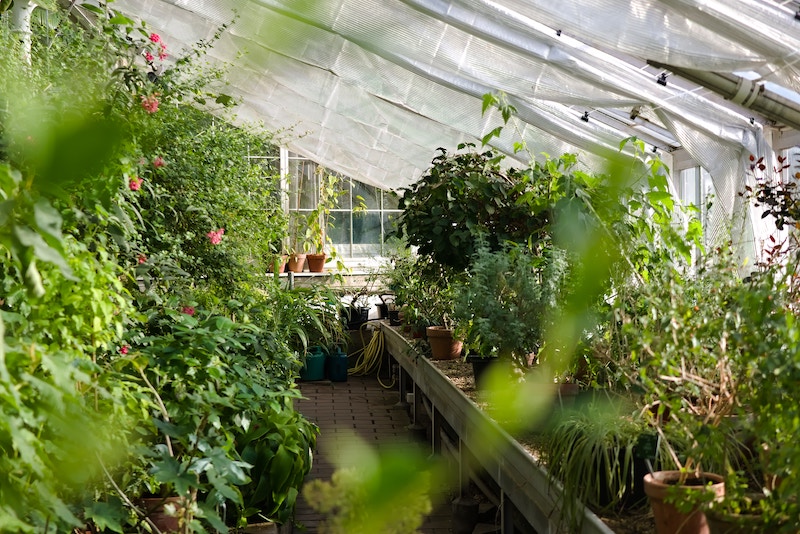
Admittedly, I'm an ardent gardener and I maintain a greenhouse for my prized flowers, which cost a few bucks beyond our budget to build (despite my husband's protestation). Now, I would like so much to grow more vegetables this winter, but I know a new greenhouse will now be out of the question. Luckily, we have what we call the poor man's greenhouse–high tunnels which cost way less to maintain and even less to build. This time, I know he'll join me on this homemade high tunnel project since he loves gardening, too, perhaps just a little less passionately than I do. If you're up for some extended growing season, check out this high tunnel project and you'll be in on it, too.
Let's Get Building!
Materials:
- 4, 1″ diameter, 20 ft. PVC pipe
- 6, 10 ft. 2″ by 4″ lumber
- 6, 12 ft. 2″ by 4″ lumber
- 4-mil clear plastic sheeting
- 8, 1″ diameter galvanized pipe
- Door hinges
- Metal pipe brackets
- 1/4 inch staples
- Wood screws or drywall screws
- 6 3-inch butt hinges
Tools:
- Circular saw
- Impact drivers
- Screw drill power tool
- Hand auger drill
- Sledgehammer
- Utility knife
- Staple gun
- PVC saw
- Safety gadgets
How To Build DIY High Tunnels
Step 1. Setting Up The Foundation
To build a 10 feet wide by 12 feet long high tunnel greenhouse, you don't need to cut up the 2 by 4s at all. Just set up the high tunnel foundation with the following easy steps:
- Assemble your 10 footers and 12 footers on the ground and set them up to form a square which will be the base.
- Join the ends of the lumber and fasten them with 3-inch screws.
- Using a drill and auger, bore holes into the ground inside each of the four corners of the base.
- Bore two more holes along the sides of the length of the base, evenly spaced.
- Drive 6 inches of the galvanized pipes into the holes with a hammer to set in place. (This will serve as the anchor for your PVC pipes mainframe)
Step 2. Assembling The Main Frame
For the hoop house frame, we will be using a 20-foot long, 1-inch in diameter PVC pipe so it bends easily. While we are using galvanized pipes, I would suggest for you to find steel rods where the PVC pipe can slide in perfectly to use as anchors. However, for this project, we attached 1 and 1/4 inch PVC pipes to make sleeves for both ends of the main pipe so it fits in the anchor.
- Now, simply slide one end of a PVC pipe to one of the anchors then bend to slide the other end into the anchor across.
- Do the same to the rest of the PVC pipes.
- Attach brackets to each of the PVC bases to hold the PVC pipes in place.
Step 3. Building Support Structure
To install the high tunnel doors, you must build support frames first. This will also allow for added strength or reinforcement to your overall building. You will be making two doors on both ends of the high tunnel not only for access but for ventilation during the warm seasons. You can follow these simple steps:
- Make measurements on one side of the structure which will also be the same measurement for the other end to make the frames for the high tunnel doors.
- Make the frames from your measurements, simply connecting the cut 2 by 4 pieces with screws to form the structure.
- Prop both frames against both ends of the greenhouse, then cut diagonal 2 by 4s and attach to the opposite sides of the doorframe.
- Stabilize the doorframes with 2 of the 12 footer lumbers by screwing the ends of the beams to the top corners. (You can also use these beams to hang planters)
Step 4. Attach High Tunnel Doors
Now that you have set up the doorframes in place, you can now make the doors based on the measurements of the door frames. Allow for at least an inch of space above the door frame so the door can easily slide upon opening and closing. You can follow the idea for the door in this video tutorial, but you can also design your own. Now, we attach the door and we're almost done.
- Using a shim at the bottom of your door frame, set your door to the frame.
- Screw in the door hinges, then test it for functionality.
- Attach a small piece of wood to serve as a latch.
Stage 5. Applying Cover
Any plastic sheeting will do as a cover for your high tunnel. You can also lay over some shade cloth to get your plants more protection, but you don't have to worry about it until next growing season.
- Unroll the plastic sheet and wrap it over your high tunnel.
- Secure the plastic sheet to the base of the greenhouse with staples.
- Set the plastic sheet in both the high tunnel's ends and staple it to the wooden frame every 3 inches.
- Now, cut the plastic sheet around the doorframe then reattach it to the main door with staples.
Homemade High Tunnel Greenhouse Done!
Now wasn’t that just easy? Doing this activity with your family can add more fun to the project too. Now all you have to do is set up the place so you can maximize the space and grow more. You can add a tiered structure to one side of the greenhouse and perhaps grow potted herbs in them too.
How To Extend Growing Season With A High Tunnel Greenhouse
Before you get excited about this project, you can check these tips and ideas first on how you can grow crops successfully even through the wintertime. And, no, you don't have to install a heating system.
- Grow cold-hardy crops like lettuce, beet, kale, and collard greens. You can find out more about winter garden vegetables and crops here.
- Growing vegetables in raised beds also help protect the crops from the cold. Apparently, raised bed stays warmer than its surroundings in winter and warms up faster than the ground in spring
- One other amazing way to help extend the growing season is through organic mulching. In the summertime, organic mulch help keep the soil moist and keep weeds at bay. In wintertime, organic mulch amazingly keeps the soil and the plant roots insulated.
Follow the step-by-step guide on how to build a high tunnel greenhouse in this video:
Who says you can't have fresh homegrown vegetables in winter? Well, not the stubborn gardene with the help of inexpensive, low-maintenance, yet effective DIY high tunnels. With simple and easily accessible materials, every gardener can make their own high tunnel greenhouse on a budget!
Have you tried growing in a high tunnel greenhouse before? Tell me all about it in the comments section below!
Are you all about vegetable gardening? Learn all about these common garden planning mistakes and how you can avoid or deal with them for successful vegetable gardening!
Don’t forget to follow us on Facebook, Instagram, Pinterest, and Twitter for more smart gardening ideas!


1 thought on “How To Build A High Tunnel Greenhouse And Extend Growing Season”
And remember that PVE is not UV friendly so it will age and get brittle in a few years. Painting the PVC helps, but it still gets brittle. I’ve found that electric conduit seems to have more UV resistance, but it still gets brittle. The last tunnel I built (this spring) I covered the PVC with aluminum duct tape. Still waiting to see how that works.